Showing posts with label diy. Show all posts

Friday, May 11, 2012

bullet shell and chain friendship bracelet


This is a quick D.I.Y with what i had in my purse. Yes i have bullets shell's in my purse. A friend I'm my metal smithing class was cutting them up and gave me the part she didn't need anymore.

supplies 
i used cut bullet shells but you can use tubing or even just thick metal beads

chain i had chain left over from my project but you can buy some chain from any craft store and cut them down to size.

any color of embroidery floss

step one

cut out five arm length pieces. fold in half and tie a slip knot.

step two

braid and inch or two then add the a forward knot to secure the braid 

add the "bead" add a forward knot and reverse forward knot to secure it into place.

add the chain forward knot and braid the embroidery floss until the braid is the same length of the chair and forward knot to secure it into place add the other "bead" the way you added the first. braid the rest tie a knot and volla your done!

a quick D.I.Y to break up your day and once your finished you have a cool bracelet. if you make one leave a comment to your photo i would love to check them out.

xo
jes 


Sunday, February 6, 2011

valentines diy part 2


valentines diy part 2

this one is also very simple to do. let's get to it!

supplies you will need:
cut out hearts
washi tape or ribbon
card stock
corner punch (optional)

step 1:

punch out your corners
 (for those of you who don't have one go on to step 2)

step 2:
place ribbon or washi tape in the middle of your card

step 3:
place your hearts in the middle of the ribbon or tape using glue. i put them in order from largest to smallest but you can put them anyway you want.

step 4:
embellish your card i put dashes on both sides of the ribbon but you can do zig zags, scallops, lines, just about anything you want.

ta da! your done! all you have to do now is just write something to your valentine.

love and cupcakes


Saturday, February 5, 2011

valentines diy


valentines diy! 
 i will make two posts one for each card because i feel like it would be a very long post. so let's get started!

  gather supplies


you will need:
card stock any color you like (i used red)
things to trace /hand draw hearts or you could use punches if you have them
exacto knife
self healing mat/card board
paper
marker


step 1: 
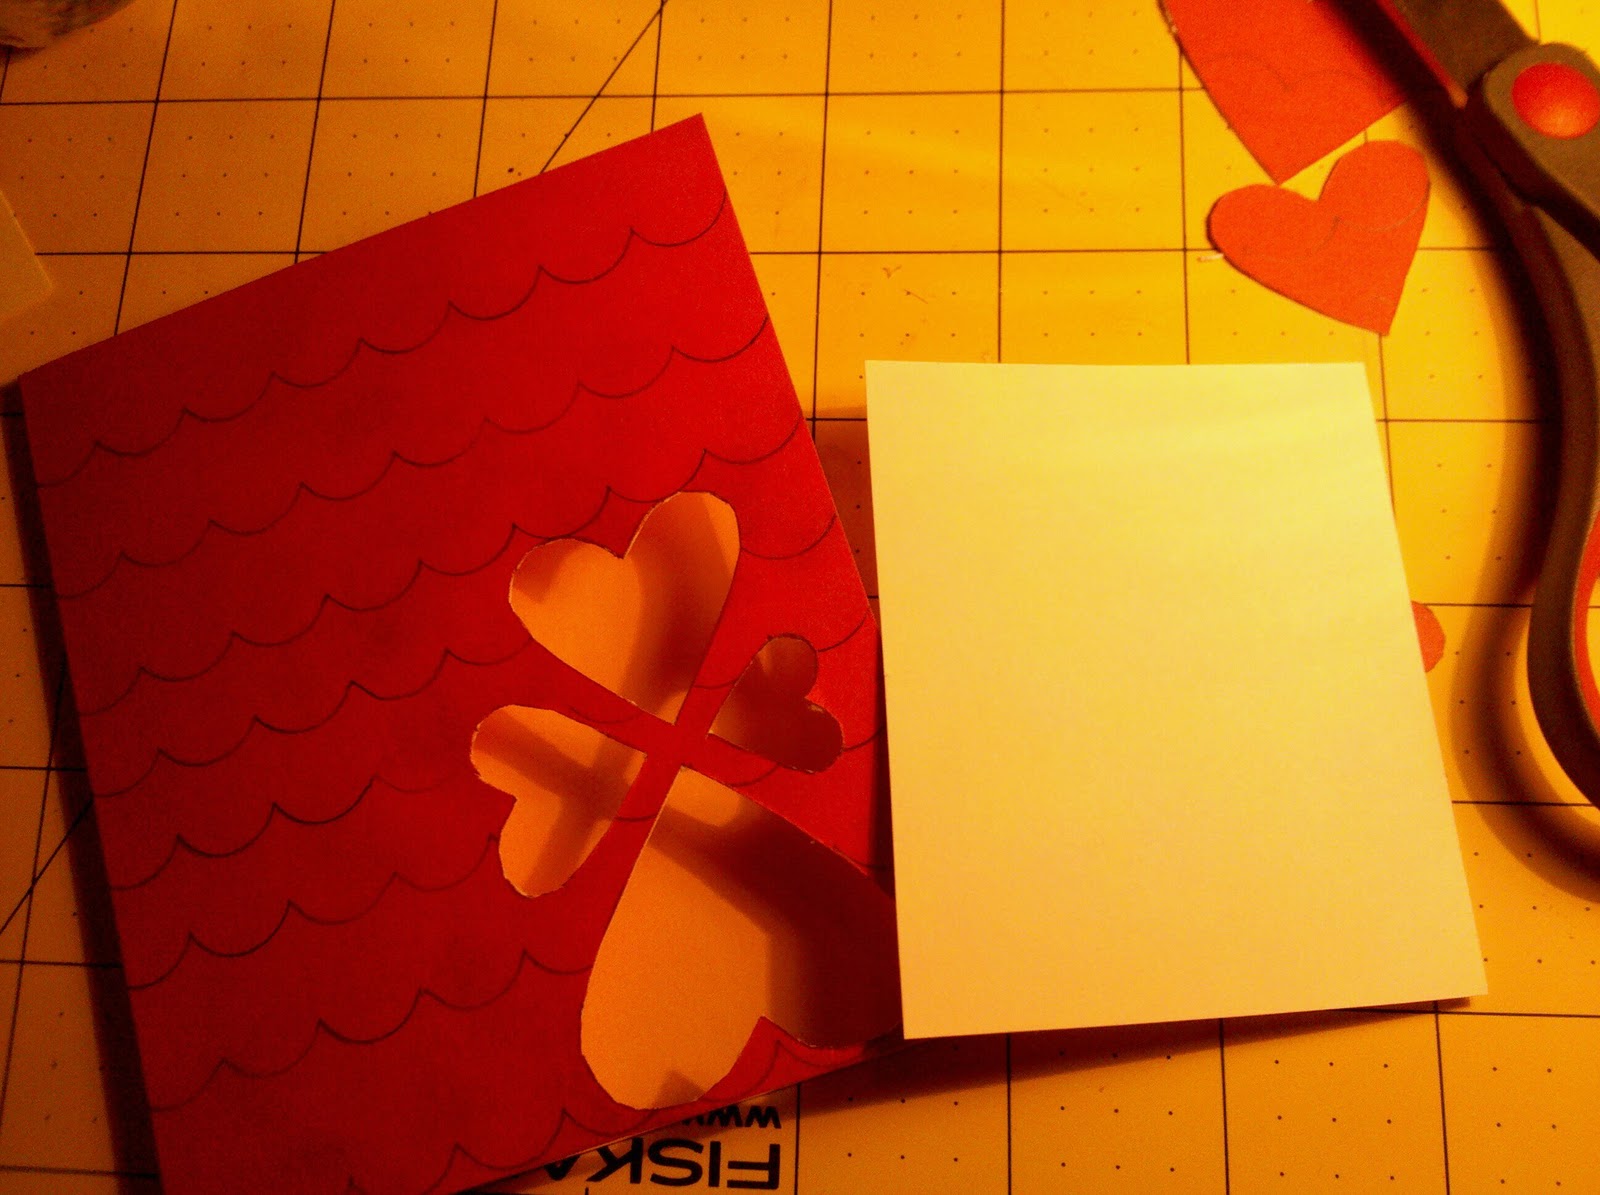
draw or trace hearts and cut them out. you can put them any where i just did them in the right hand corner because that's where they looked cute to me and you can make them any size too.

step 2: 
cut a piece of card stock to fill your heart holes 


and glue in place

step 3: 
embellish your card i put scallops on my plain red card stock to add some interest as well as dashes so it looks like embroidery.


step 4:
to make use of the card stock in the back of your hearts i put some washi tape to secure it down and wrote xo just so it doesn't look not thought about but if you don't like seeing it you can always just put a piece of colored paper the size of the card back. 


volla a valentine in just 4 steps!


i also wanted to share the valentines i did for the fibers club! i hope you like them, they are just variations  with the same message. 


stay tuned for part 2 tomorrow!

love and cupcakes


Thursday, January 6, 2011

how to hair do

pin curls


this works better with wet hair so try this when your done showering or just wet your hair with a spray bottle.

materials:

- bobbie pins
- spray bottle (if you need it)
- scarf (to wrap it up to go to bed to keep the pins in place)
- comb (to part sections)

step one- wet your hair of if you just got out of the show just towel dry to get most of the moisture out. we want it wet not dripping.

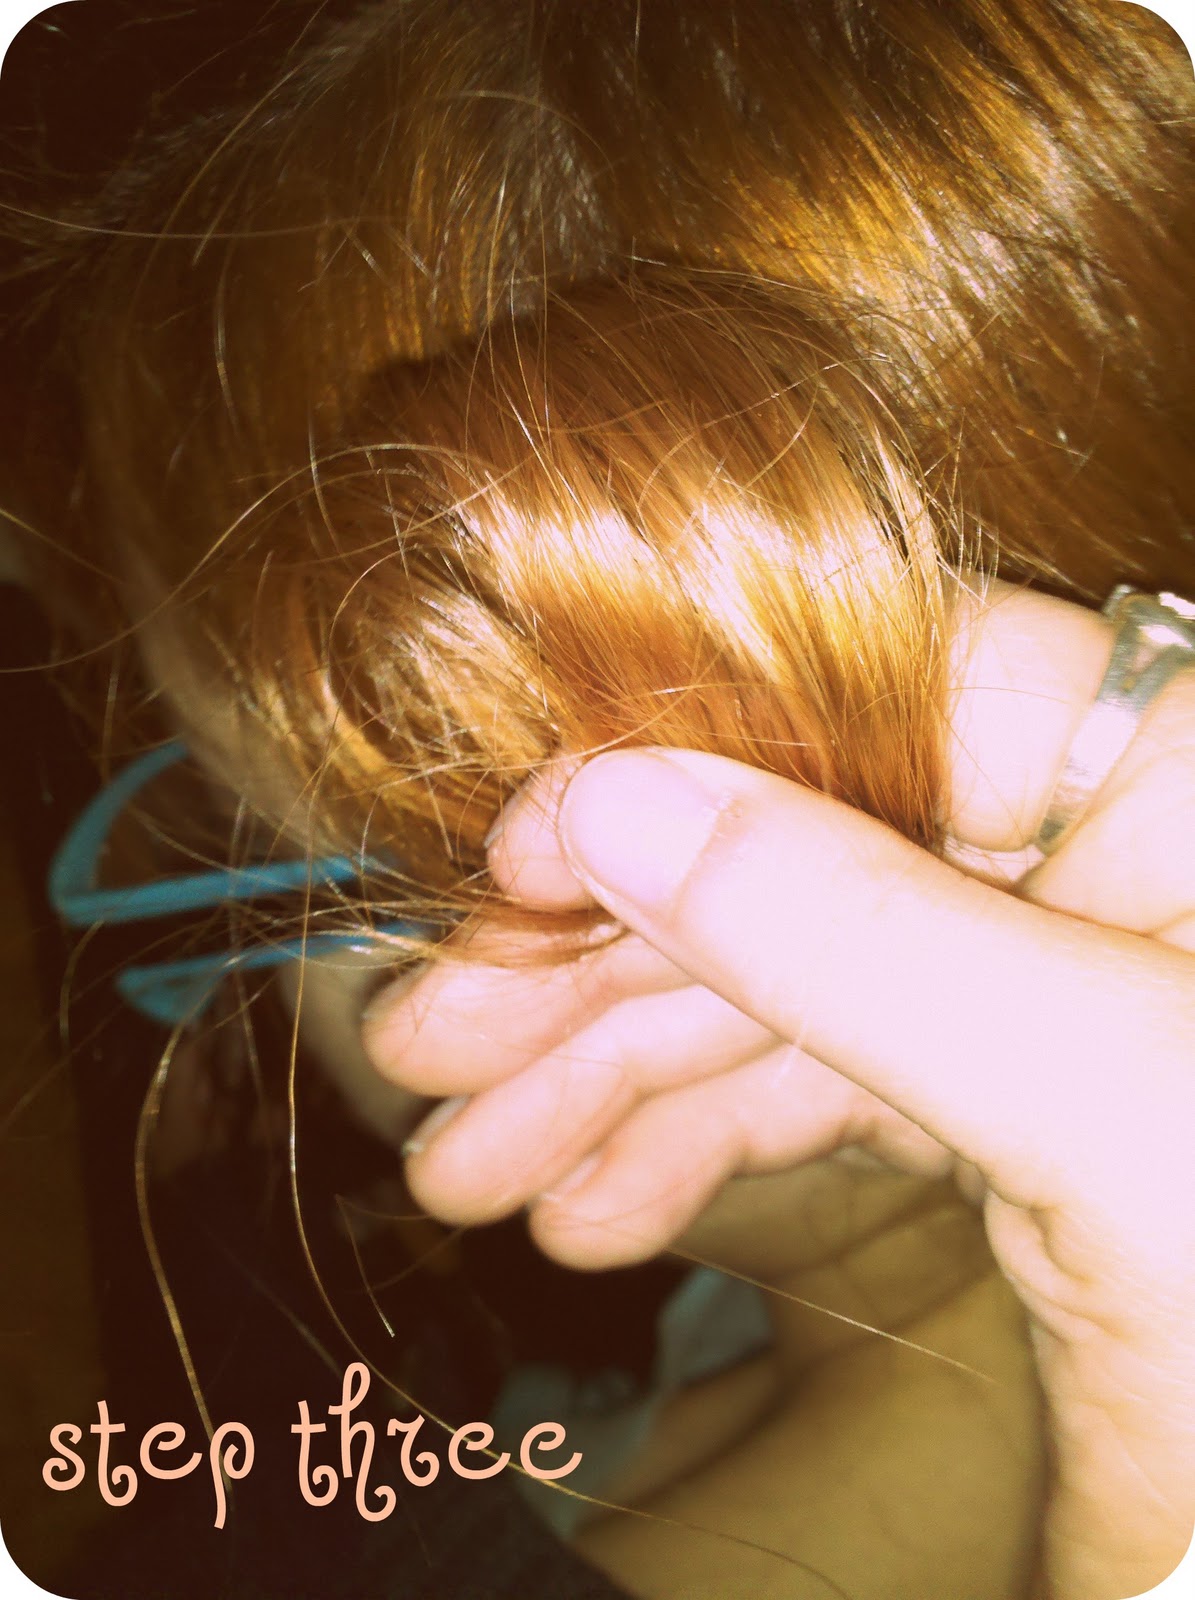
step two- gather a section of hair and inch wide and use your pointer fingers and thumb to hold the ends of your hair.

step three- roll your hair from your ends to the crown.

step four- secure your curl with a bobbie pin


 step five- repeat steps two though four untill you curl all your hair


step six- you can dry the curls with a hair dryer or just let them air dry once dry you can let all the pins go and volla! pin curls 

clara bow image source via google
pin curl model my sister and i
hope you enjoy! 
love and cupcakes

Tuesday, January 5, 2010

to day was the perfect day!

had my best friend over went to dinner with her and my sister, then came home and my sister taught her how finger knit she said it was easer then crocheting. which i tried to make a hat like elsies from abeautifulmess but it came out weird i think im gonna try to fix it.
but other than that and the snow it was the perfect day. keeping my goals for the new year. which is good. trying to start the russian nesting doll project. still on the fence on what to pain on them found some cute one on etsy.

shop

shop
thats all for tonight

love and cupcakes